Showing posts with label woodworking. Show all posts

Sunday, August 3, 2014

It's been a while since I posted anything here. Thought I'd start it up again since I recently restarted woodworking and specifically woodturning.
Here are a few pictures of my latest project a Toothpick holder which was a welcome gift. It holds a dozen toothpicks (purely coïncidental, I hadn't thought about the number of toothpicks)

I was looking for a way to sign or mark my work without it being to visible. The second condition was that the signature should be repeatable.So I quickly landed on branding or pyrography.
A few years ago I bought a wax stamp and since that's metal I could heat that up and use it to burn a letter R. since I made several pens and it's pretty imposible to burn that R into a pen.
I also wanted to show a piece of the wood the project is made of.
And so I started making labels made from the same wood as the project and burnt with the logo.

Here are the pictures:


Friday, September 3, 2010

Tuesday, August 31, 2010

why make one chess set, when you can make two?


When I was working on the previous chess set, I got the idea of making a square and round set... and so here's the start:


Photobucket

Photobucket

Photobucket

Photobucket

Saturday, August 28, 2010

wooden chess set: complete set


The chess set is finally complete. here's a few pictures. I'm sorry to say the pictures of the separate pieces are quite blurry.
anyway here goes:

Photobucket

Photobucket

Photobucket

Photobucket

Photobucket

Photobucket

Photobucket

Photobucket

Photobucket

Photobucket

Photobucket

Photobucket

Photobucket

Photobucket

Saturday, August 7, 2010

chessset ... creating a new board.

It's been a while since I posted something and even longer since I worked on the chess set. So with new energy I decided to create new board as well. this one will be one solid piece (unlike the previous one, that you can fold up).

materials are whitewood, hardwood and a lot of glue :)

here are some pictures.
the raw materials:
Photobucket

Photobucket

cut and glued:
Photobucket

all dry the next morning:
Photobucket

sanded down nice smooth:
Photobucket

next steps:
- cutting the board to glue the strips on.
- cutting the edges for the board
- glueing it all together
- finishing touches.

Monday, July 6, 2009

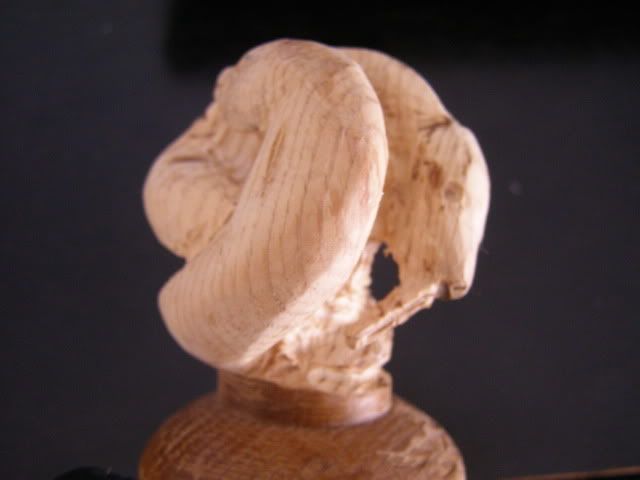
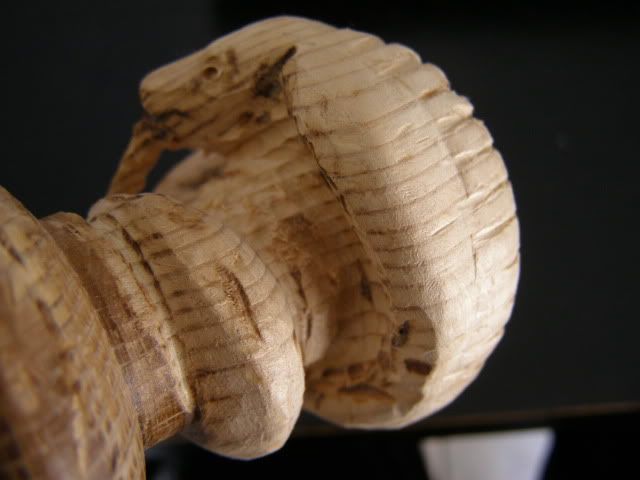
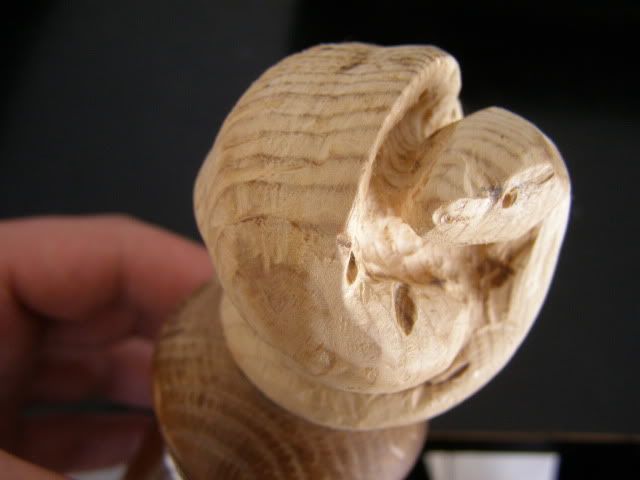
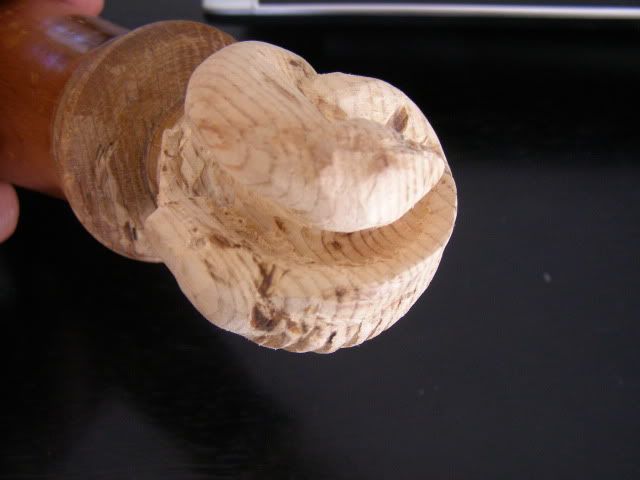
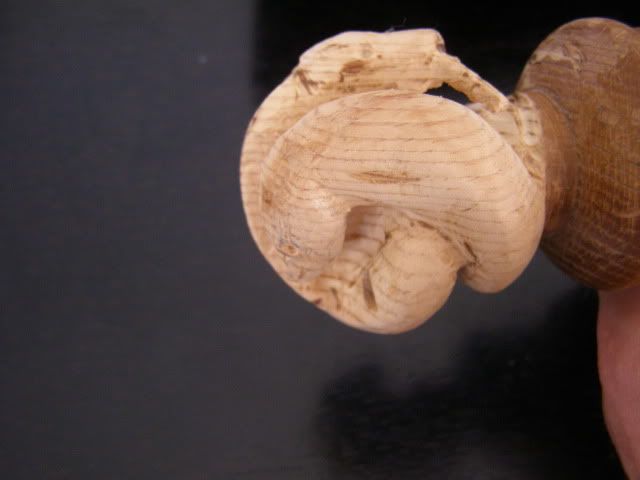
a ball of snakes


here's another little woodwork that's as everything else, still a work in progress.


some pic's: